HOME   •   OVERVIEW   •   LAB DEVELOPMENT   •   LOGIN   •   DOWNLOAD   •   CONTACTS


GETTING A USER ACCOUNT

To acquire a user account for DCSL, users will have to request through the course instructor or Dr Andrew Yang (http://sce.cl.uh.edu/yang). And users should provide their detail information: name, purpose of use etc while requesting.

1.1  User Accounts- A user will have two user-accounts for DCSL,

§         The first account will be used for establishing the VPN connection, accessing the File-Server and connecting to the DCSL wireless network. 

o        The password for this account can be changed at https://dell-dcsl/iisadmpwd or https://192.168.6.17/iisadmpwd, once the user gets connected to the DCSL network.

§         The Second account will be used for FTP to the Web-Server.

o        The password for this account can be changed at http://www.dcsl-uhcl.net/changepass

The usernames for both of the accounts will be same


ESTABLISHING A VPN CONNECTION TO DCSL

To establish a VPN connection to the DCSL you need to have a VPN Client Software. The VPN client used in this document is CISCO VPN Client 4.0.1

2.1  Install and configure the VPN Client software-

§         The Cisco VPN client installer is available at the UCT page, 
  Download Link

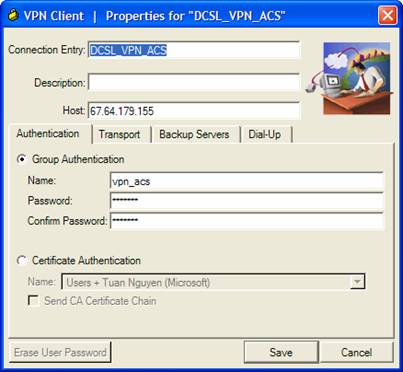
§         Create a new connection entry with the configuration information,

o        Enter Connection Entry: DCSL_VPN_ACS (for example) and Description

o        Host: 67.64.179.155 

o        Name: vpn_acs and Password: vpn_acs

2.2  Connect to DCSL-

§         Once the connection entry is configured, click the connect button to connect to DCSL.
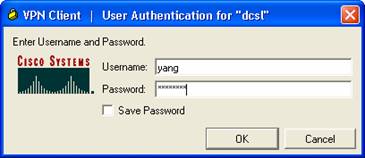
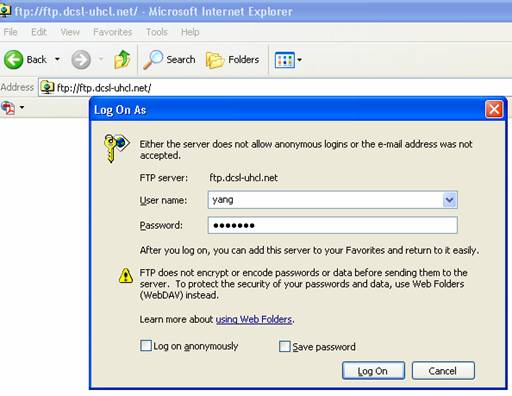
§  You will receive a prompt asking for Username and Password. Enter your Username/Password assigned by the DCSL administrators for the VPN connection.

VPN accounts are provided to users including: groupname/password and username/password. User can not change password, thus users should keep their passwords secret. In case of changing the password, user needs to contact DCSL network administrator.

CONNECTING TO THE FILE SERVER

3.1  Connecting to the File Server-

§       Once the VPN connection is established, search for the File-Server. Open up a search window, Start → Search → For files or folders → Computers or People → A computer on the network. Enter dell-dcsl Computer Name

 3.2  Driver mapping-

§         Expand computer dell-dcsl, choose your server shared folder in server. Press right button and select Map Network Drive.

§         Choose a driver letter to map your server shared folder to.

§         Click on different user name and enter your username and password provide by administrator to authenticate with file server. You can choose Reconnect at logon to avoid repeating the above steps every time you want to map the folder.

CONNECTING TO THE WEB SERVER

4.1  Ftp to the Web-Server through VPN connection-

§       Users can upload files to the Web-Server at DCSL through FTP. Due to the insecure transmission of username and password of FTP connection over the Internet, it is required that users connect to VPN server before using FTP to upload files.

§         Uploading file through FTP

o        Enter FTP server address: ftp://ftp.dcsl-uhcl.net

o    Enter username and password provided by the DCSL administrator to authenticate with the Web/FTP Server:

Users can upload webpages to the DCSL Web-Server through FTP. And the url convention to see those pages would be: http://www.dcsl-uhcl.net/accountname

Top

COPYRIGHT © 2007 University of Houston Clear Lake. ALL RIGHTS RESERVED.